OOTD: Easter 2013

standing black dress with polka dot stockings.jpg

I had such an awesome Easter this year.

It was my son's first Easter and he had his first taste of chocolate; a gift from his god mother. We were all very surprised to witness that he did not seem to like it... at all. Odd. Quite odd actually. Not at all what we expected. Maybe it's an acquired taste?

Since our whole family was together (that's a rare thing these days), we took this opportunity to celebrate our parent's 30th wedding anniversary. Yup, 30 years. Isn't that awesome? They are an inspiration, so strong and in love. I strive to follow in their footsteps.

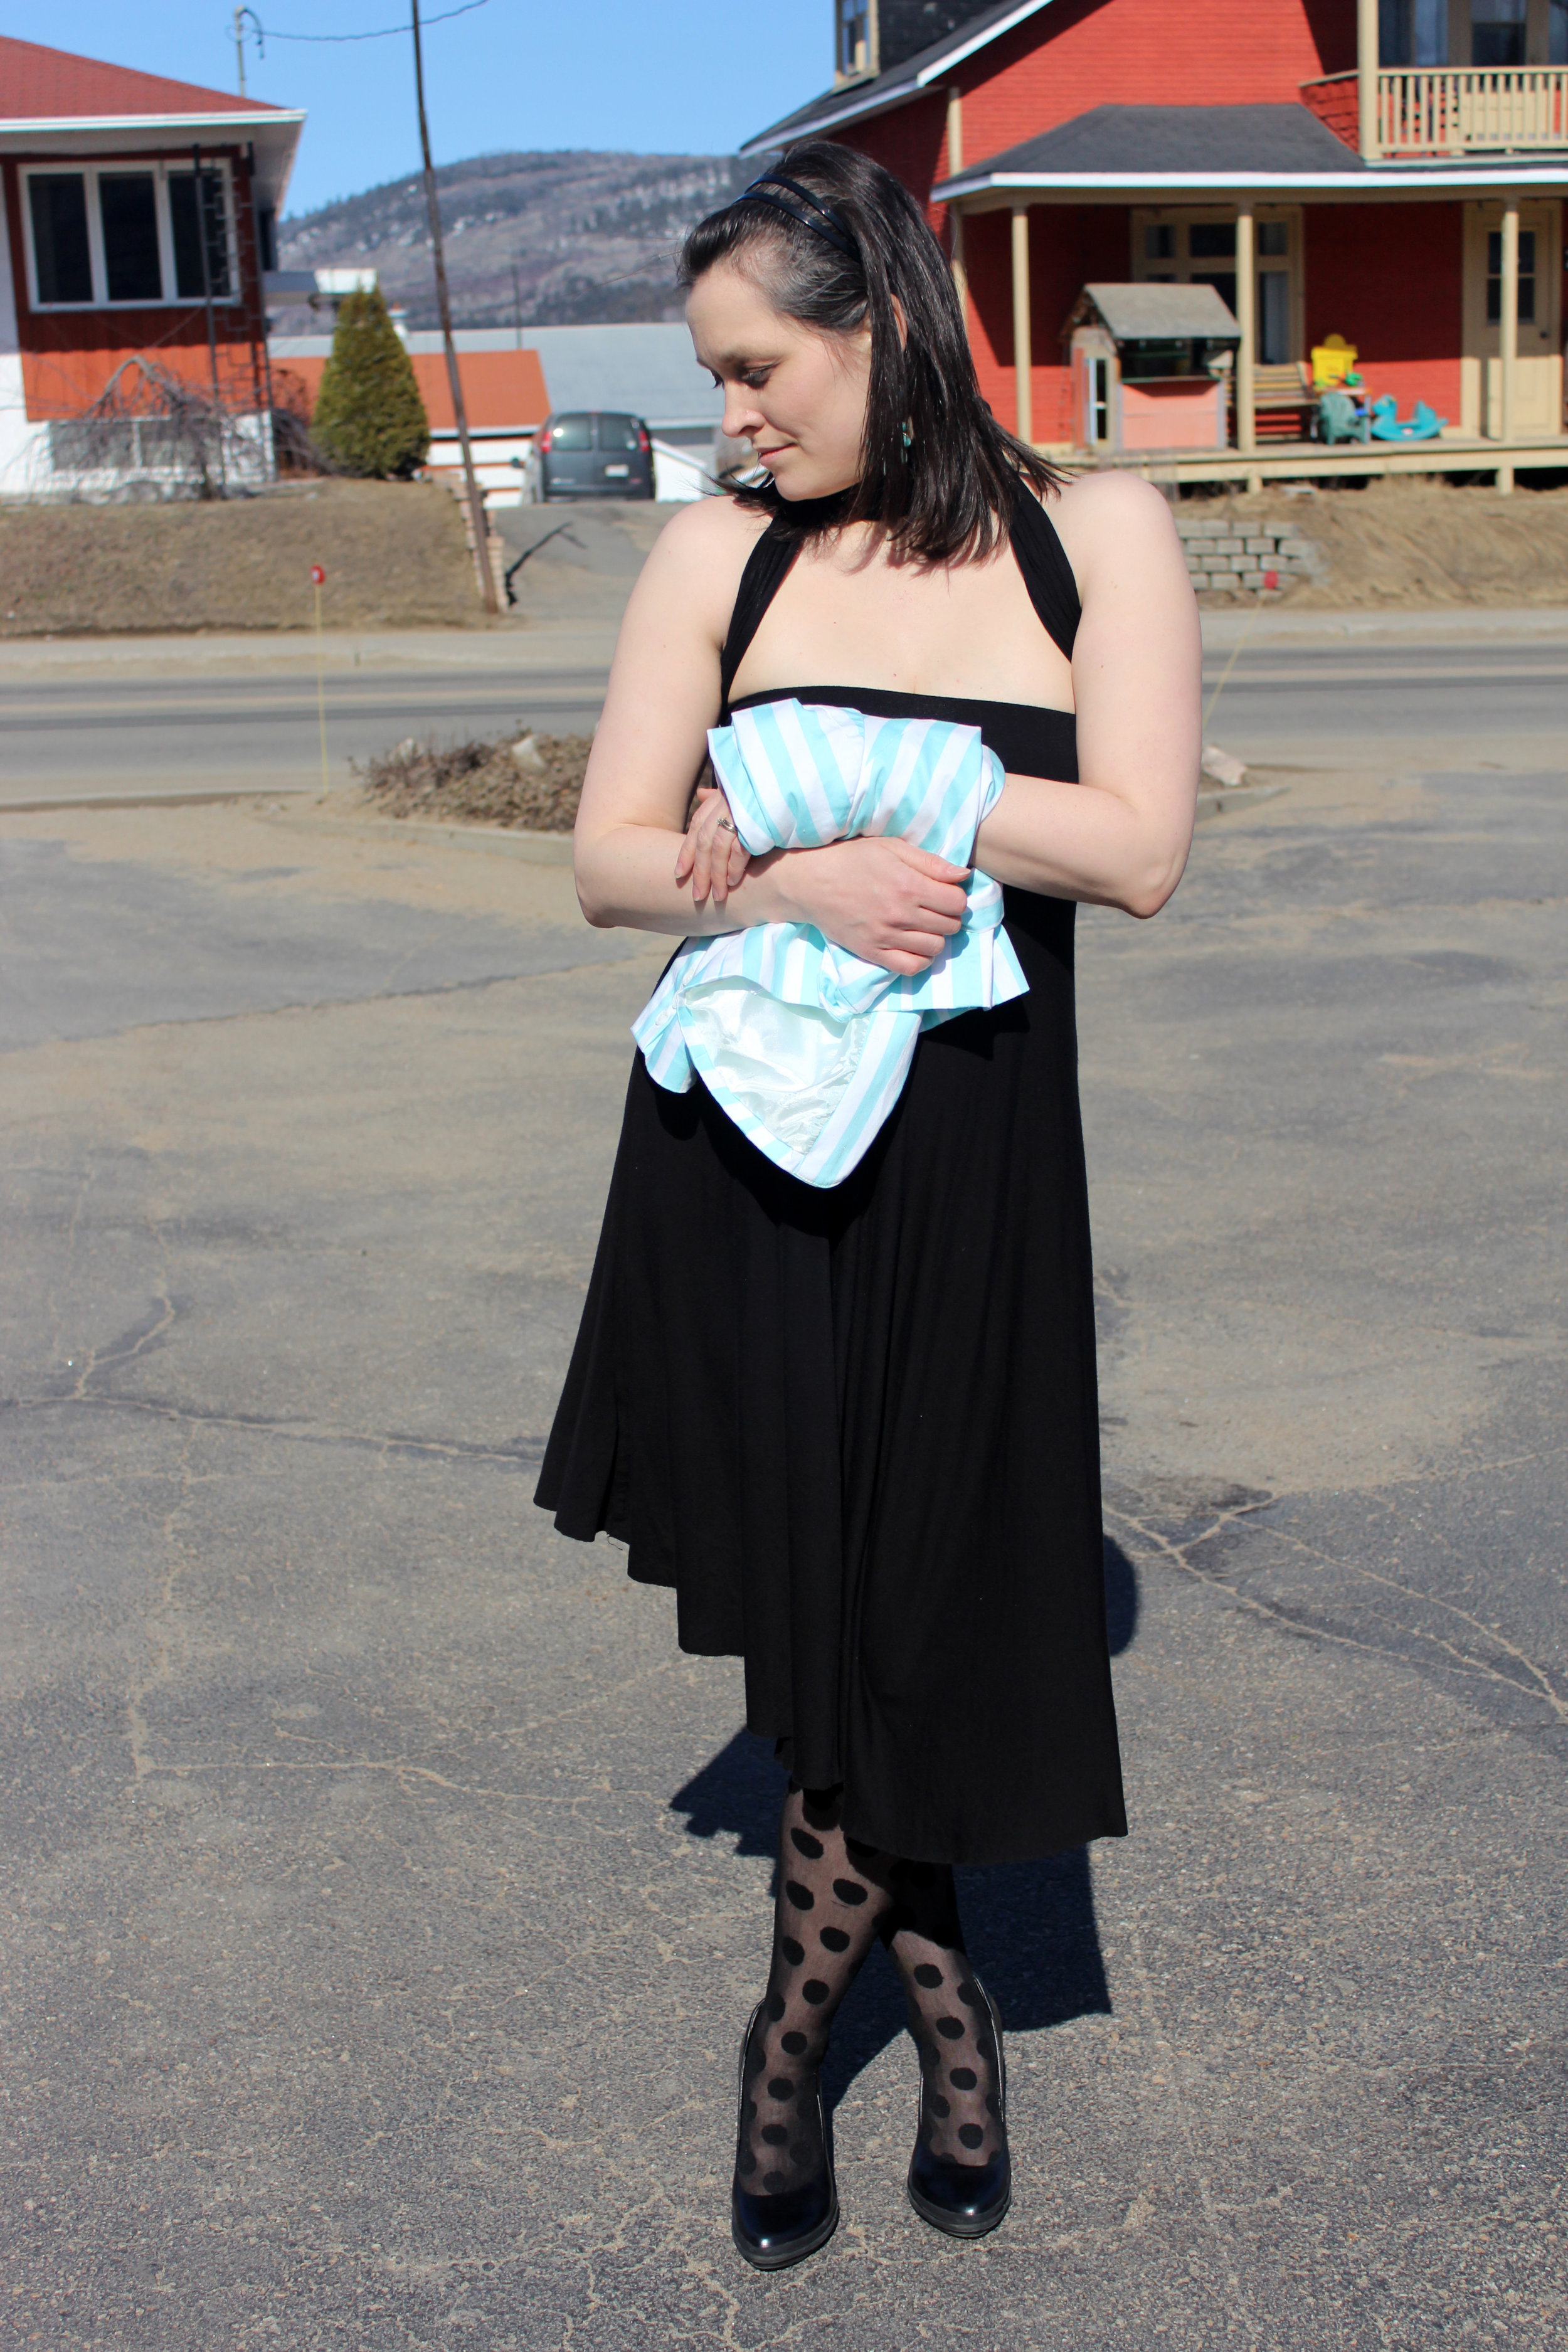
So anyway, this is what I wore for this doubly special occasion. It was nice to get dressed up. I don't have as much time to do that nowadays, you know... with a little one following me around.
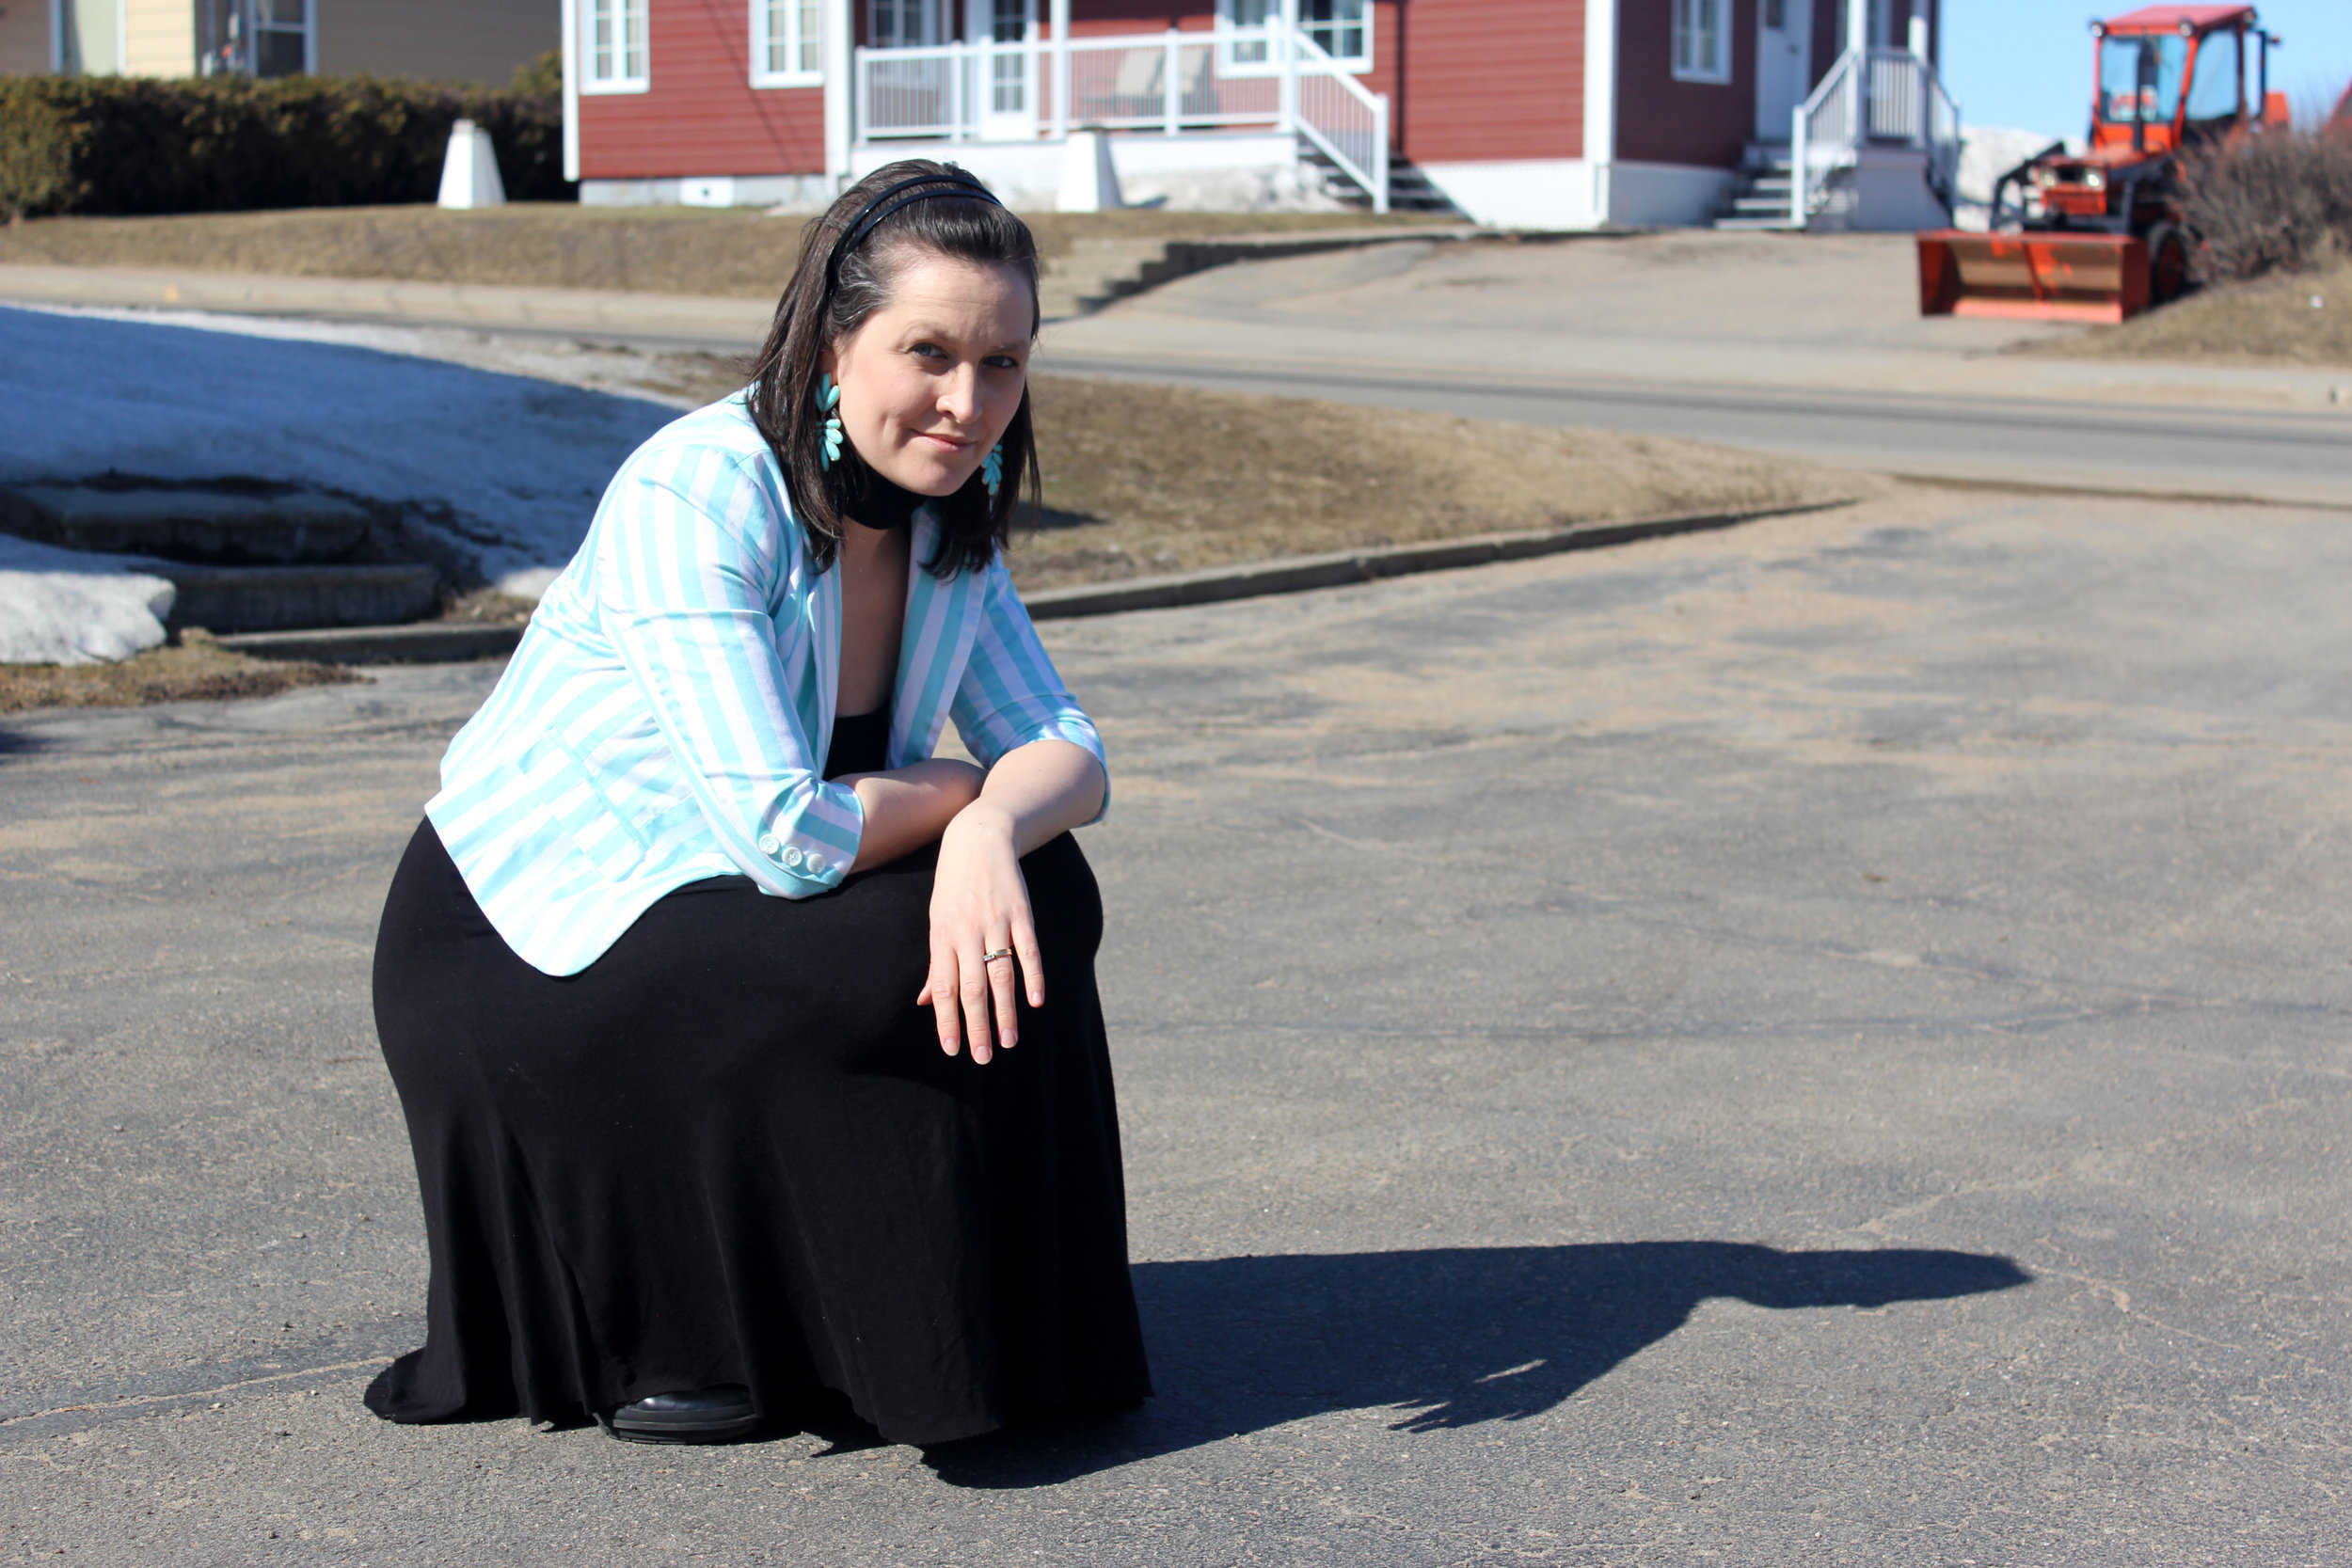
pretty easter outfit statement earrings turquoise and black.jpg
turquoise and white striped jacket.jpg
fun turquoise statement earrings.jpg
turquoise and black outfit kneeling down.jpg

Outfit

Dress: La vie en rose
Tights: Simons
Blazer: Forever21
Earrings: Aldo

DIY: Easter Bunny Hard Boiled Eggs

easter bunny hard boiled eggs.jpg

I have always wondered why people empty the eggs before coloring them. They are so much more fragile and harder to work with. Is it because they last longer? I personally like to hard boil the eggs first, that way, they are easier to work with.

Materials

Hard boiled eggs
Colored felt
Scrap cardboard
1 cup Water
1 tablespoon Vinegar
20 drops food Coloring

Tools

Glue
Scissors
Spoon

materials for easter bunny hard boiled eggs.jpg
tools for easter bunny hard boiled eggs.jpg

Steps

1. Mix the water, vinegar & food coloring. Dye the eggs.

I broke the pink one. It made me sad. :(

2. While the egg is drying on the spoon, cut the felt into shapes (ears, eyes, nose).

I didn't need the scrap cardboard (tissue box) because my felt was strong on it's own. Otherwise you can use it as back support for the ears.

3. Glue the felt parts on the eggs. Serve with breakfast, eat & enjoy!

dying eggs in blue for easter bunny hard boiled egg.jpg
easter bunny hard boiled eggs step by step.jpg

I served them with bacon, toast, tomatoes and coconut fried potatoes. Use your imagination!

I've been pretty busy lately. I kind of over booked myself on activities with my son. I gave birth to him 3 weeks after we moved into our first house. I felt a bit lonely and secluded, so I scheduled a whole bunch of activities for us. We had swimming classes, mommy craft classes, baby musical activities, stroller workouts & lots of mommy/baby dates... it was fun while it lasted, but before I go back to work in 2 months, I want to spend as much quality time with my son as I can. alone. Just him, and me. It's hard to believe he's almost 1 already. I'm going to miss him being a little mister.

easter bunny hard boiled eggs final.jpg

Nail Art: Blue with White Polka Dots

blue and white nail art stripes and dots.jpg

Up until recently, the only person I had ever seen wearing nail polish was my grand-mother. So I rarely ever wore any, except when I was little and my grand-ma would pass me some; you know, a girly activity to do together. ...then I was inspired by Memorable Days & Burkatron, so I decided to give it a shot. I was amazed at how fun it was and how pretty it turned out. I'll definitely be doing more so stay tuned!

Materials

Beach Bum Blu nail polish by Essie
Mermaid Glitter nail polish by Forever21
White nail art pen by Sally Hansen

blue and white nail polish.jpg

Steps

1. Apply two base coats of Beach Bum Blu.

2. Apply Mermaid Glitter to tips of nails.

3. Draw lines & dots with nail art pen.

4. Apply a coat of clear nail polish to seal.

paint nails blue first step.jpg
paint nails blue second step.jpg
blue and white nail art stripes and dots 1.jpg

It's important to add the clear top coat to seal otherwise your design will rub off within a day.

Review

Sally Hansen nail art pen

Likes: Easy to apply. Dries quickly. Comes in many different colors. Can remove mistakes with water. Looks pretty.

Dislikes: A bit expensive for what it is ($8 CAD). If you don't apply a clear top coat of polish it rubs off within a day. It's very watery. Need to reapply more than once to get desired result.

My rating: ♥♥♥♥♥